Accurate and Reliable Glucose Monitoring
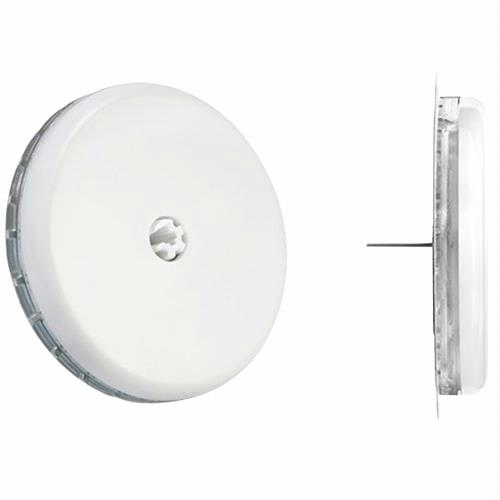
The Freestyle Libre 2 sensor provides accurate and reliable glucose monitoring without the need for finger pricks. Bywearing the sensor on the back of the upper arm, users can effortlessly track their glucose levels throughout the day and night. The sensor uses advanced technology to measure glucose levels in the interstitial fluid, providing real-time data to the user via a reader or compatible smartphone app or a Freesylte Libre 2 reader. The Freestyle Libre 2 Sensor sends glucose readings to your device every minute.
Convenience and Flexibility for Active Lifestyles
Designed with convenience and flexibility in mind, theFreestyle Libre 2 sensor allows individuals with diabetes to lead active lives without interruption. The sensor is water-resistant, making it suitable for activities such as swimming or showering. It offers up to 14 days of wear, minimizing the need for frequent sensor changes.The Freestyle Libre 2 sensor also features optional alarms that can be customizedto alert users of high or low glucose levels, providing added peace of mind and ensuring prompt action can be taken when necessary.
Enhanced Connectivity and Data Sharing
The Freestyle Libre 2 sensor takes CGM to the next level with its enhanced connectivity and data sharing capabilities. Users can easily access their glucose readings on a reader or compatible smartphone app, allowing for seamless integration into their daily routines. The sensor also enables data sharing with healthcare professionals or lovedones, fostering better communication and support in diabetes management. By providing comprehensive insights into glucose patterns and trends, the Freestyle Libre 2 sensor empowers users to make proactive decisions about their health.
Adjustable Settings: No
Alerts & Alarms: No
Automatic Shutoff: No
Calibration Required: No
Compatible with Insulin Pump: No
Data Sharing Capable: No
Integrated Continuous Glucose Monitor: No
Smart Phone App Available: No
Software Reporting: No
Warm-up Period: 1 Hour Bolus
Calculator: No
Battery Included: No
Age Indication: Ages 4 and Older
Sterile: Yes
Latex- Free: Yes
CA Prop 65 Warning: No